Appearance
Video Importing & File Support
Pro
Video Importing & File Support is an Orbit Pro feature.
1. Start with a session
To edit video — or to use video alongside an ADM or IAMF file — you first need a session. Go to File → New Session and create one.
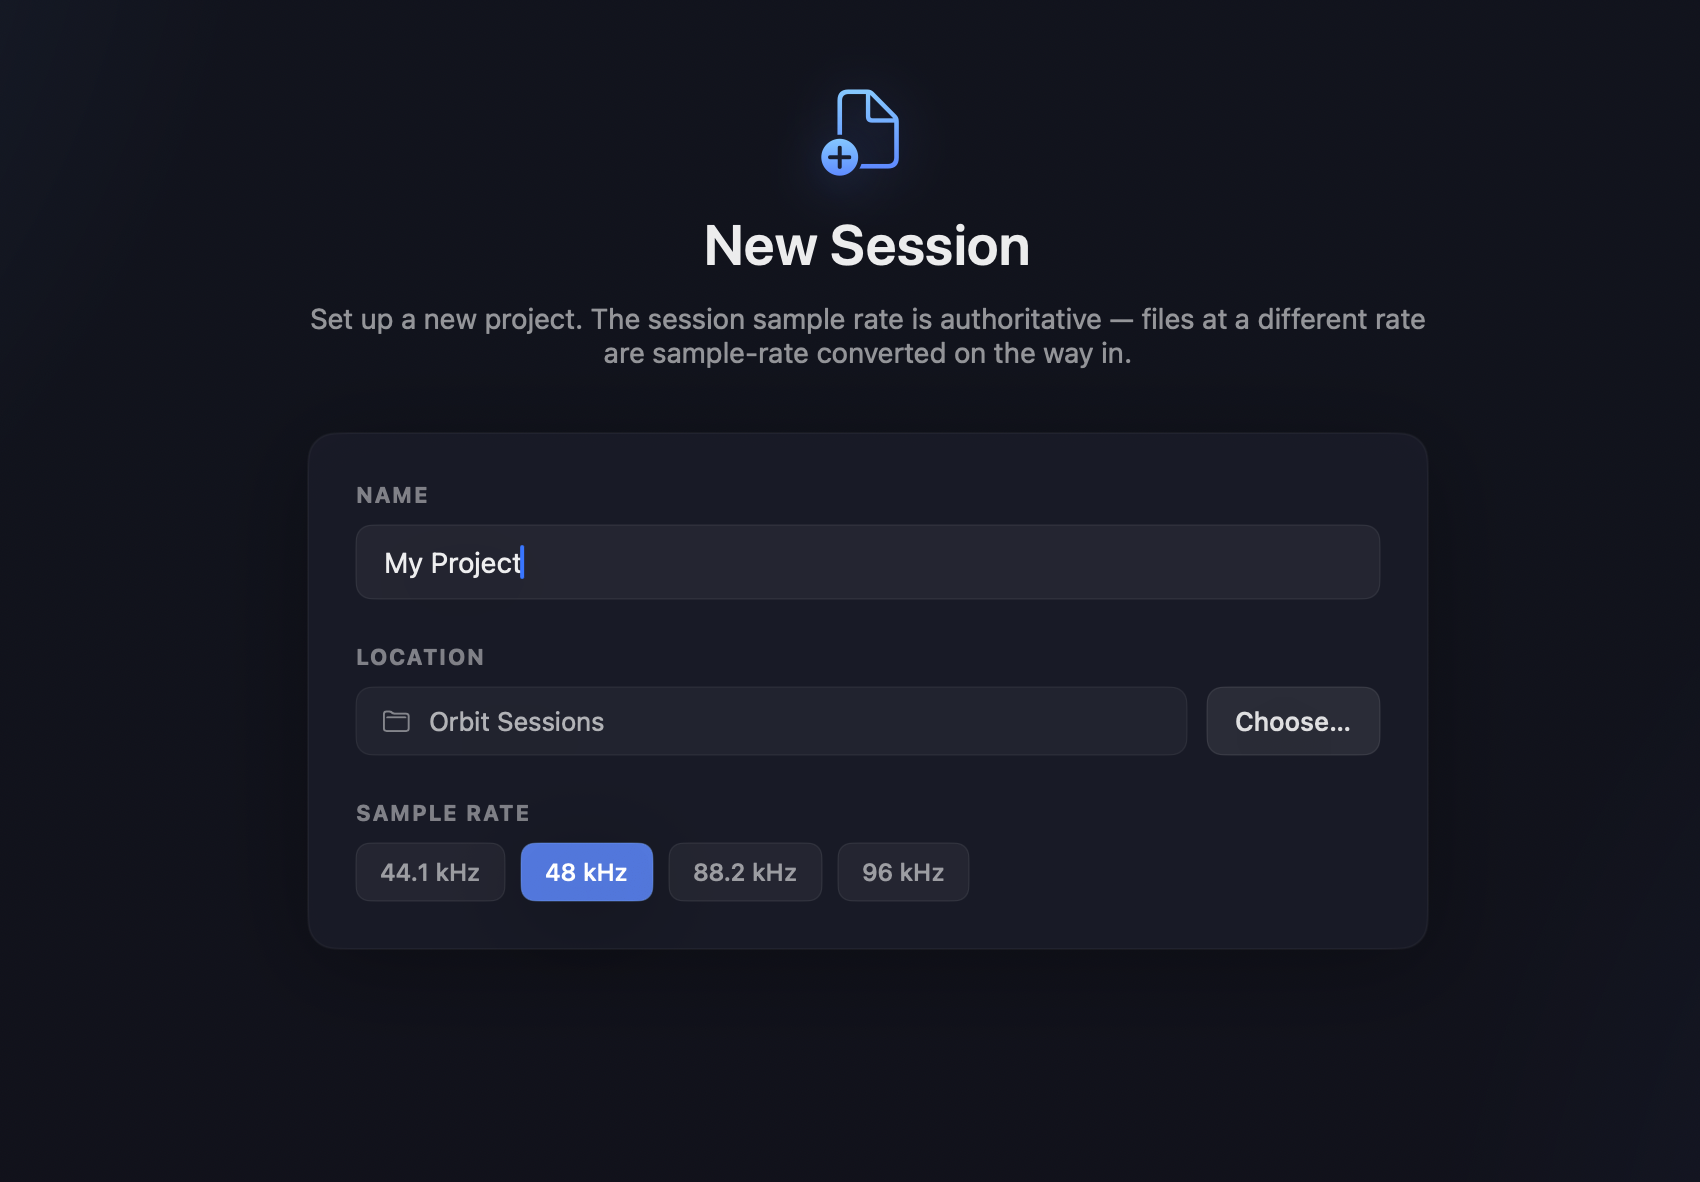
Give the project a name and pick a location — the default is Documents → Orbit Sessions. The sample rate is authoritative for the session: files imported at a different rate are sample-rate converted on the way in.
For more on sessions and the bundle they create, see Sessions.
2. Import an ADM or IAMF file
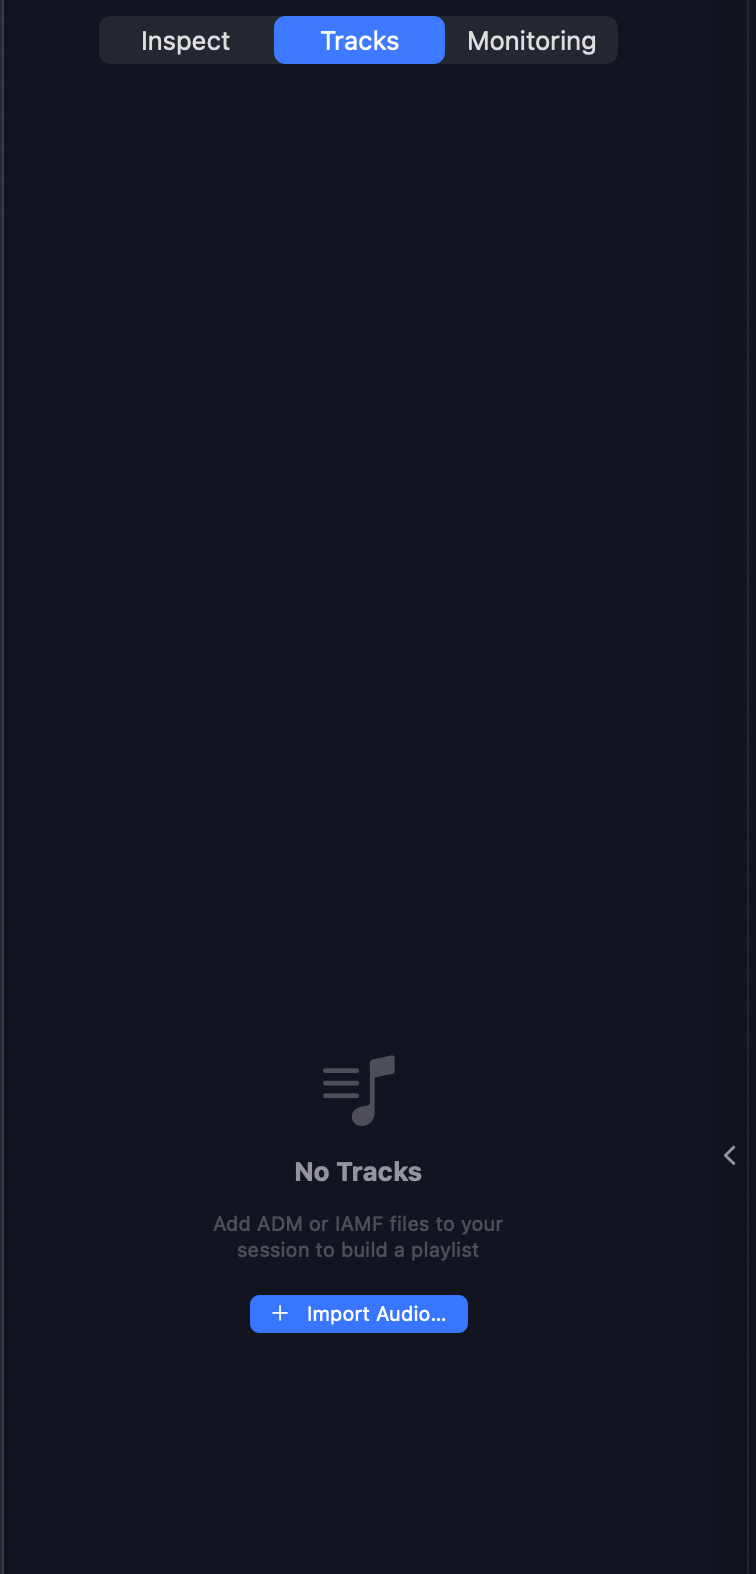
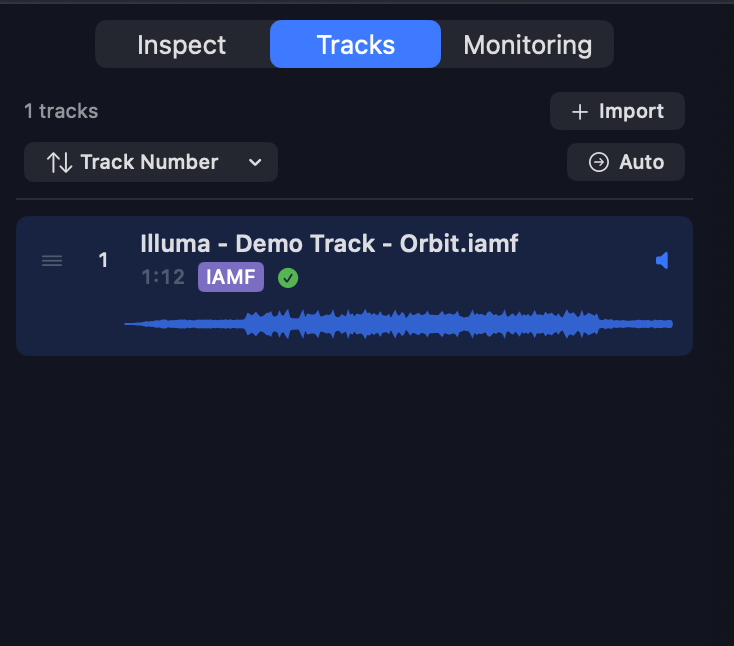
With a session open, add your audio in the Tracks tab of the sidebar — available in both Overview and Timeline mode. When the session is empty, click Import Audio…; once you have tracks, use the Import button at the top of the list.
One track only for video
Video work requires a single audio track:
- If the session already has more than one track, video import is blocked.
- If a video is already present, importing another audio track is blocked.
Keep the session to one ADM or IAMF track before moving on to video.
3. Open the Video View
Once your track is imported, switch to the Video View to bring in and work with video.
4. Add video clips
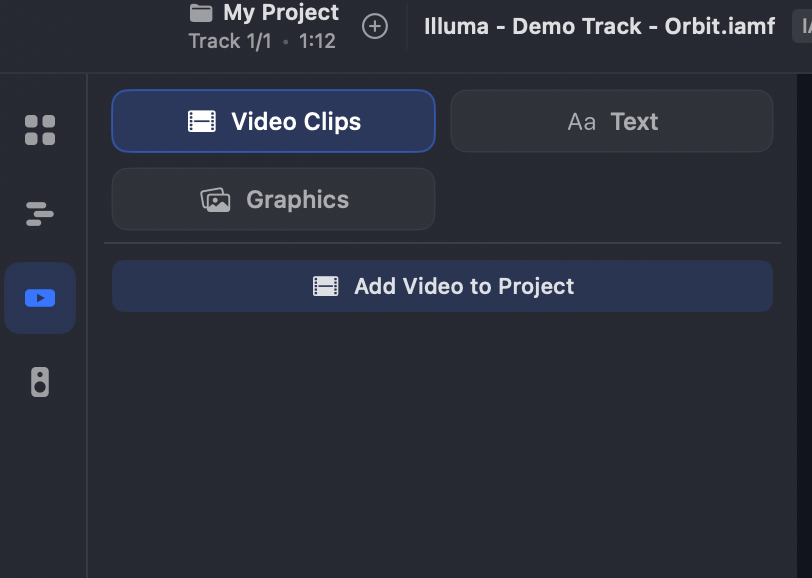
In the Video View, open the left sidebar with the Video Clips tab selected, then click Add Video to Project.
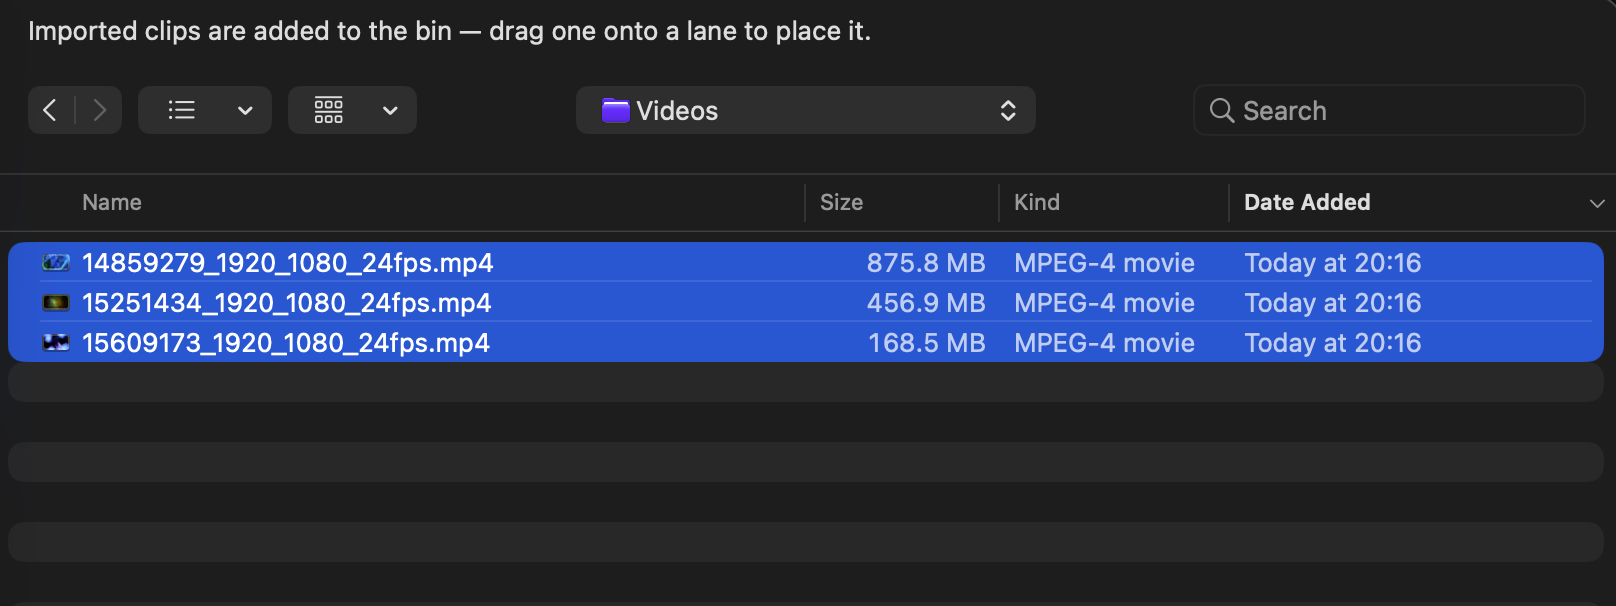
You can import several videos in one go — in the macOS file picker, Shift-click to select a range or ⌘-click to pick individual files.
Terminology
An imported video is referred to as a Video Clip throughout Orbit.
5. The clip bin
Imported Video Clips are added to the bin — the Clips list in the left sidebar, grouped under the session's Programme settings (frame rate, resolution, aspect). Each clip shows its duration, frame rate and resolution. Drag a clip onto a lane to place it.
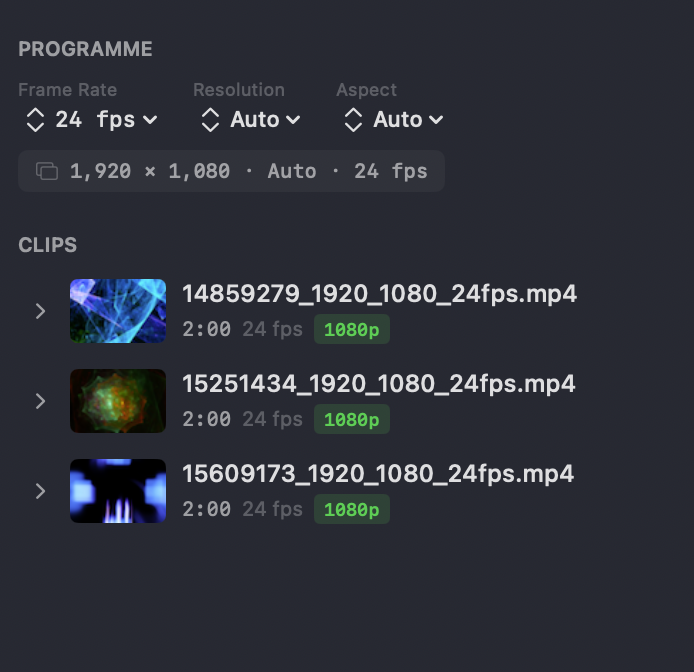
Video Clips are imported into the session and stored inside the session file.
Clip actions
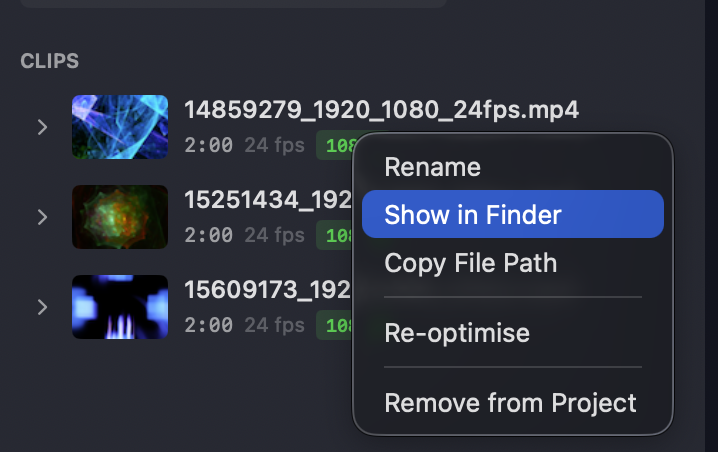
Right-click a Video Clip in the bin for these actions:
- Rename — rename the clip within the project.
- Show in Finder — reveal the imported file's location on disk.
- Copy File Path — copy the file's path to the clipboard.
- Re-optimise — re-run optimisation on the clip. See Video Optimisation.
- Remove from Project — remove the clip from the session.